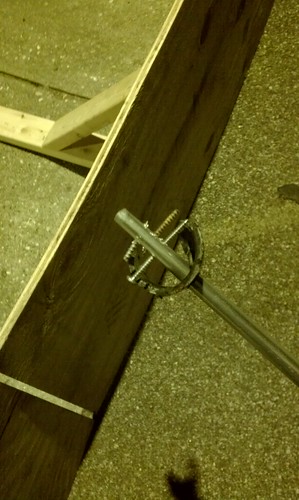
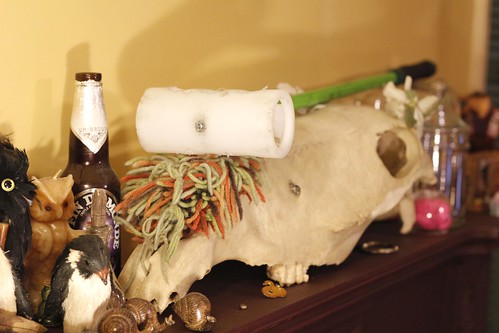
Anyways, this system is AWESOME. Drilling through the shaft has always been the worst part of making a mallet for me, and this does away with that completely. Plus, this makes heads easily swappable without damaging the integrity of the shaft by having to put in a new screw.

Adam's patented three screws and a drill bit attachment method
is now obsolete. Photo by Kermit.
On top of being easy and clean, this method simply holds better than any other I've tried. The head stays firm thanks to the filed teeth - no twisting or jiggling, no screw to bend or break.

Metal-Mantel Approved.
The only thing I would add to the tutorial is that the nuts needed weren't at my local Home Depot or Lowes - I had to go to a smaller, local hardware store for 'em. But I shoulda done that to begin with, right? Also, make sure the bolt head is flat and tapering down to the threads so it will be flush with the mallet-head and able to fit into the countersink hole. This might sound like a no-brainer, but I definitely didn't think about it the first time and bought rounded-head bolts.
The only downside I can see is that with this method, you end up having to cut off a good bit of the taper; the nut gets trapped pretty far from the bottom of the shaft. Maybe this could be solved with different nut sizes, but there wasn't a whole lot of selection at my local store. I'm not a taper-enthusiast anyway, so this doesn't really bother me, but I could see it sticking in a craw or two - but for me, this is perfect. Definitely not gonna make mallets any other way.

No comments:
Post a Comment